Showing posts with label Braids. Show all posts

1 Pigtail 1 Braid

To give a little history of this hair style you must understand that I would have never created a style that is one braid one pigtail.  This style is all designed by the 4 year old who has wore this style for about 2 weeks straight.  I finally decided I had better share this with everyone.  Some of you moms out there might just understand what its like to have a spunky daughter like mine.

I first made a small center poof.  I used the bobbie pin that you can see below to give her thin hair an actual poof look.  Then we split the poof hair and made 2 pigtails.
She always picked which side was the braid and which one was the ponytail.   
I finished off the ponytail by putting ringlets. 


Sides Up into Outie Braid

On this style you are going to make an outie braid rather than a flat braid. 
I wanted the braid to pop out. 
In order to get an out braid rather than a flat braid you cross the hair under instead of over.
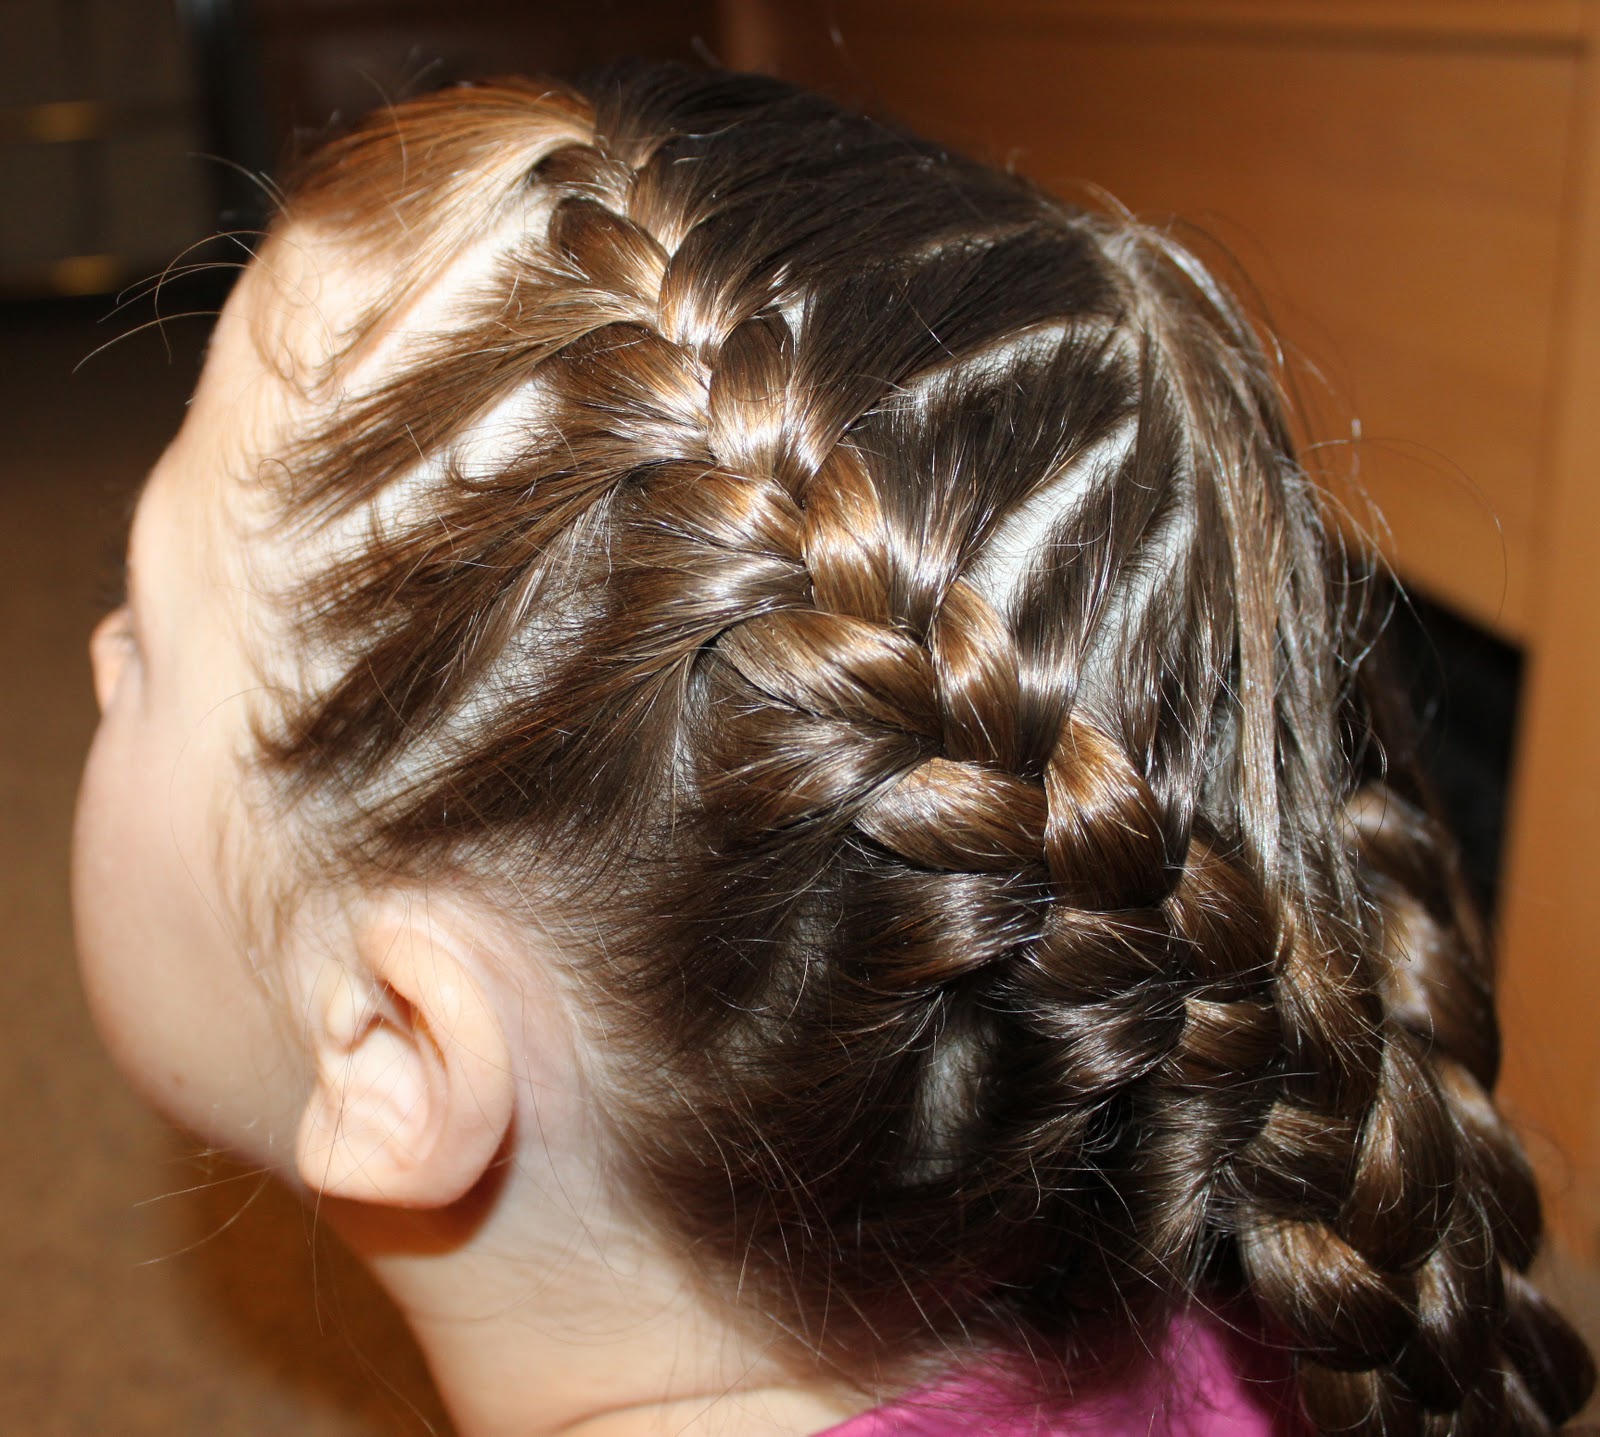
I started the braid on her left side and braided her bangs back and continued to frenchbraid until all her sides were pulled into the braid.  Finish braiding the hair to the ends.

The right side is much easier I only frenchbraided it for about 3 crossovers then continue the braid all the way to meet the other braid.  Secure in the middle of her head with an elastic.

Low French Braid to Side Pony

This one is very similar to the rolling into a side ponytail.
I started a french braid just above her right ear.
I continued to french braid along the back of her head until it reached the right hair. 
Then I secured it with an elastic. 
I took a small amount of hair and wrapped around the elastic. I secure that small amount of hair with a small bobbie pin. 
Then we added a flower for our accessory. 

Loose Side Braid

 This has been a HairStyle Hit at our house.  Since I first did this style a couple of weeks ago she has asked for this style about 5 or 6 times.  This style is so simple, easy, quick.
All you need is a water bottle, comb, and a single elastic.
Start the french braid just above her right ear and braid along the base of her head.  When you get to the left side keep the braid low and pull the hair to the braid.
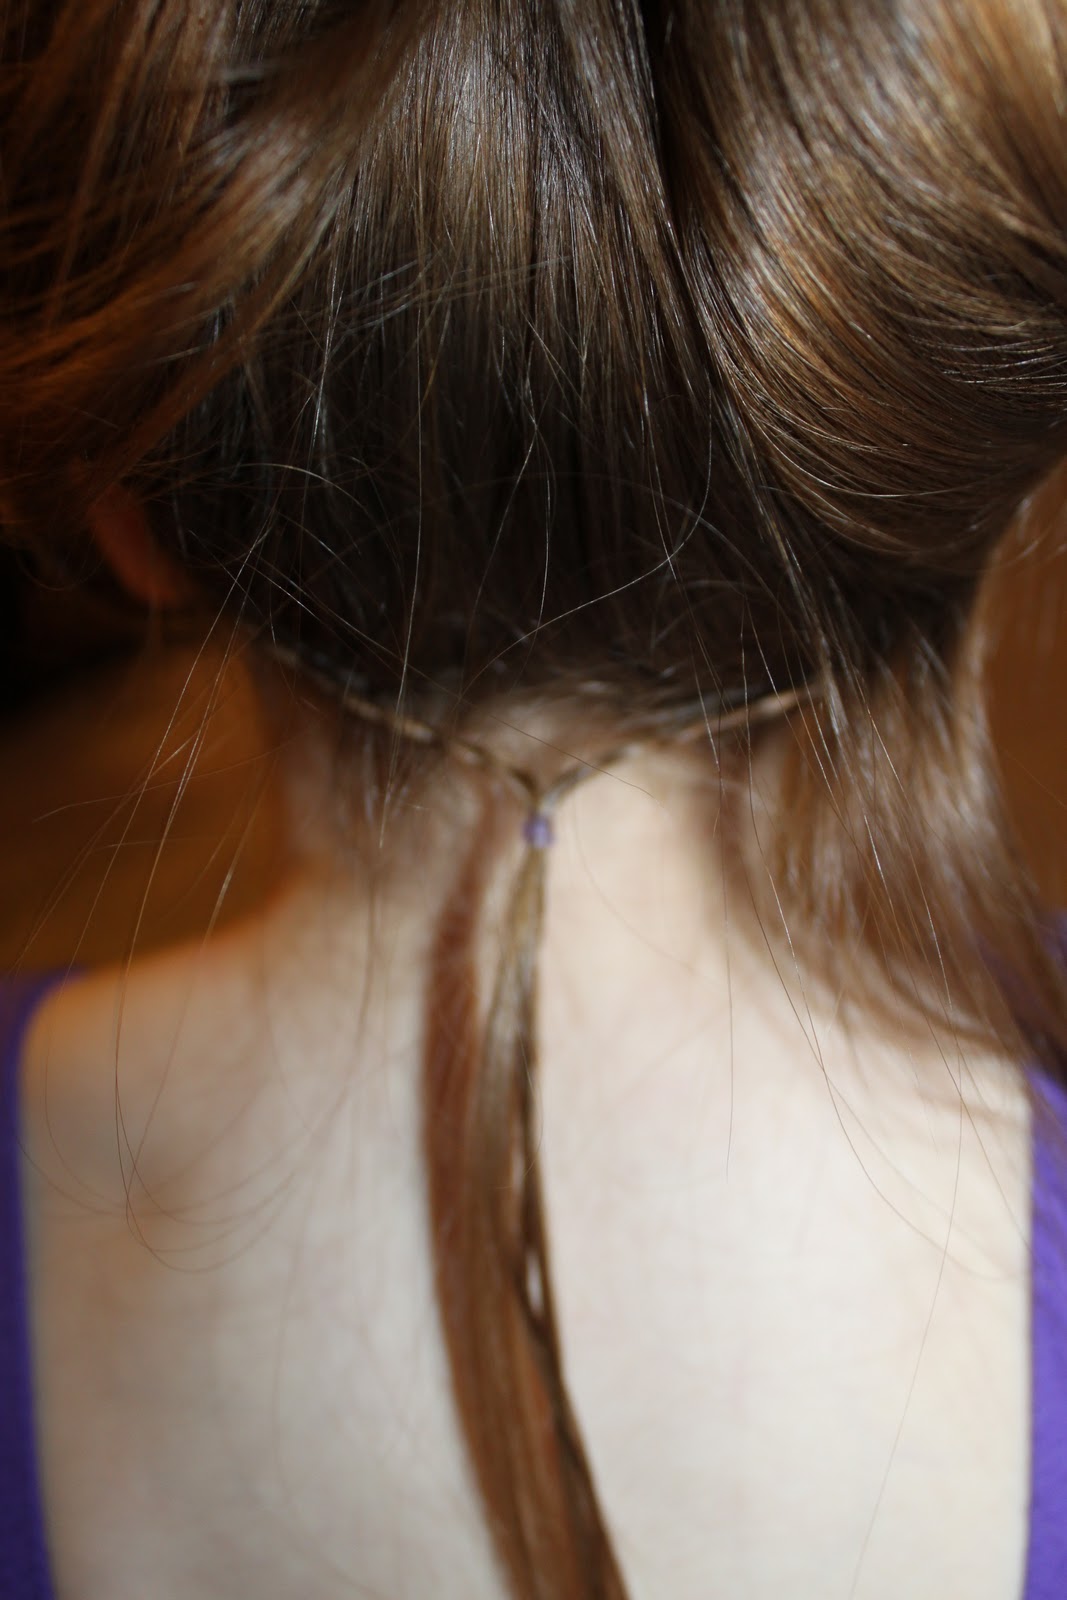
 Below is the back view.  The pictures don't do this style justice to how cute it looks.


Make It or Break it Lauren Style

We are so excited that Make it or Break it is back on.  This style is from the first week it was back on.  I apologize for the lack of pictures even with my older daughter we have moments of not wanting to cooperate.

 First make a poof center french braid as shown below make the braid loose.
 Make a simple braid on each side with the hair across the front of her face down to her ear. 
 Pull all the hair into a high ponytail.

Life as We Know it Braid Hair

This a 2nd style  taken from the movie Life as We Know it. Katherine Heigl wore her hair this way in the movie as well.
Make a french braid along the left side of her head as shown below 
French braid the right side as shown below too. 
Add the 2 braids together in the middle back of her head shown below.
Make a big loose messy bun 

Simple Braid Headband

This is really simple fun and cute.
All you do it make a normal part in her hair we use a side lateral part.
Then take a small section of hair at the back of the lateral part and braid it to the ends.
Take another small amount of hair across the part and braid it to the ends.
Combine both braids underneath all of her hair and secure with an elastic. 
The only thing to remember is make sure the hair on the sides is smooth under the braid on both sides. 


Toddler Poof and Braids

On my oldest daughter I would say this style is really easy but with my youngest this can be a trick.  Not only because her hair is so thin but she is also a moving target while trying to braid. 
First make a small poof in the front of her hair.
Then start above her ear on one side and french braid her sides up until you reach the center of her head.  Do this on both sides of her head.
Add the hair from the poof and both braids and combine into an elastic as shown below.
I finished this style by making ringlets in her hair and she wanted a bow added.

Scrunched Braid

My daughter gets so many compliments on this simple style. 
You make a simple braid we did this to hold her bangs back out of her face.
Once the braid is in place hold on the center strand and pull the remaining hair up towards her head.
Then secure with an elastic.


Poof, Braids and Ponytail

Start by making a poof in the front of her head. I used 2 small bobbie pins crossing each other to give it a little bit bigger poof.
Take the right side hair as shown below and make a braid.
Make the same braid on the left side and secure both braids and the remaining hair into a ponytail.
I took a small amount of hair and wrapped around the ponytail and secure.

Braid to Hold Bangs Back

 I started by pulling the front hair as shown below and moved it out of the way.  Then I took a small line of hair and make a french along the front of the I pulled aside as shown below too.
 Take the front hair and the french braid and pull them together and secure with an elastic behind her ear. 


Braid to Side Ponytail

I started the french braid at the left top side of her head and braided sideways until it got to the opposite ear.

                                          Once the french braid is complete secure it with an elastic.
                                          Take a small amount of hair and wrap it around the ponytail.
                                               Below is the top view of all her hair.